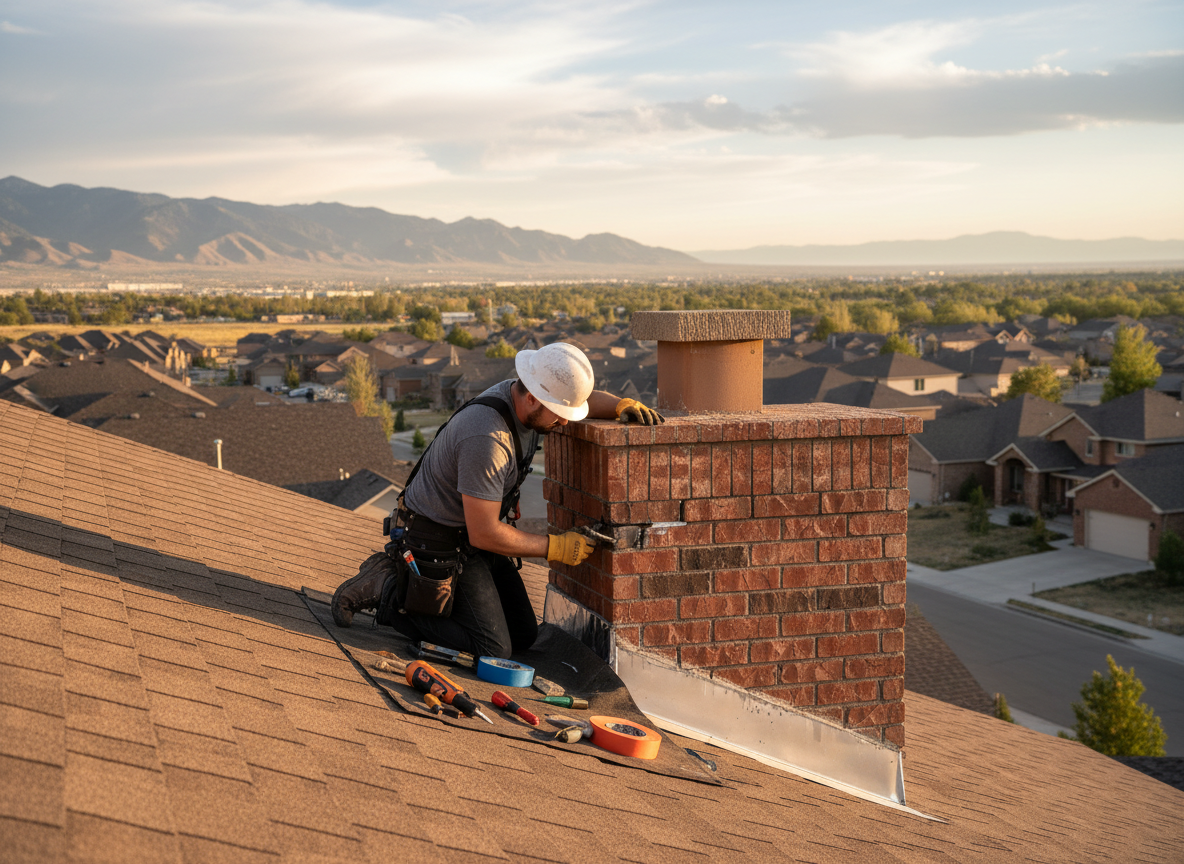
Midvale sits in Salt Lake County where semi-arid conditions still deliver hard freezes that push water through hairline cracks in chimney crowns and flashing. Homes in Old Town Midvale and Bingham Junction often date from the 1950s through 1970s with single-wythe brick stacks that lack modern moisture barriers. Once winter temperatures drop, any unsealed joint lets snowmelt run down the flue and stain ceilings or rot framing near the Bingham Junction TRAX Station corridor.
Repair starts with removing loose mortar and deteriorated flashing, then installing stainless-steel step flashing tied into existing roof planes. We use high-temperature refractory cement rated for the rapid temperature swings between warm summer days and freezing nights common here. In West Jordan and Murray homes with similar stock, we also check the cricket behind the chimney because wind-driven rain from the south often pools there and re-enters the structure weeks after the initial leak appears.
Edge cases include chimneys that share walls with finished attics where insulation hides active leaks until drywall bubbles. We always pull the rain cap and inspect the flue liner for spalling caused by repeated freeze-thaw cycles before closing the job. Homeowners in Midvale City Park neighborhoods frequently discover that previous DIY caulking jobs have trapped moisture rather than releasing it, requiring full crown rebuilds instead of simple patches.
Technician insight
In Midvale, the thing that catches most people out with chimney leak repair is how our cold winters drive ice into the mortar joints of pre-1980 brick chimneys in Old Town Midvale; once the ice expands, surface caulk fails within two seasons and water reaches the framing before homeowners notice.
Bingham Junction Chimney Leak
Water stains appeared on a second-floor ceiling after a January thaw. Inspection showed cracked crown and rusted flashing on a 1960s stack. We rebuilt the crown with refractory cement, replaced the flashing, and sealed the flue collar. No further staining occurred during the spring snowmelt.
How it works
- 1
Site Inspection
We examine the crown, flashing, and flue from roof level and attic access to map every water entry point.
- 2
Moisture Diagnosis
Thermal imaging and probing locate hidden saturation in masonry and framing around the chimney.
- 3
Targeted Repair
Remove failed materials, install new stainless flashing, refractory crown, and seal all joints rated for local freeze-thaw exposure.
- 4
Water Test and Cleanup
Simulated rain test confirms the repair, followed by debris removal and attic ventilation check.
Pricing
Upfront quotes after on-site inspection; scope determines final cost.